Upcycle
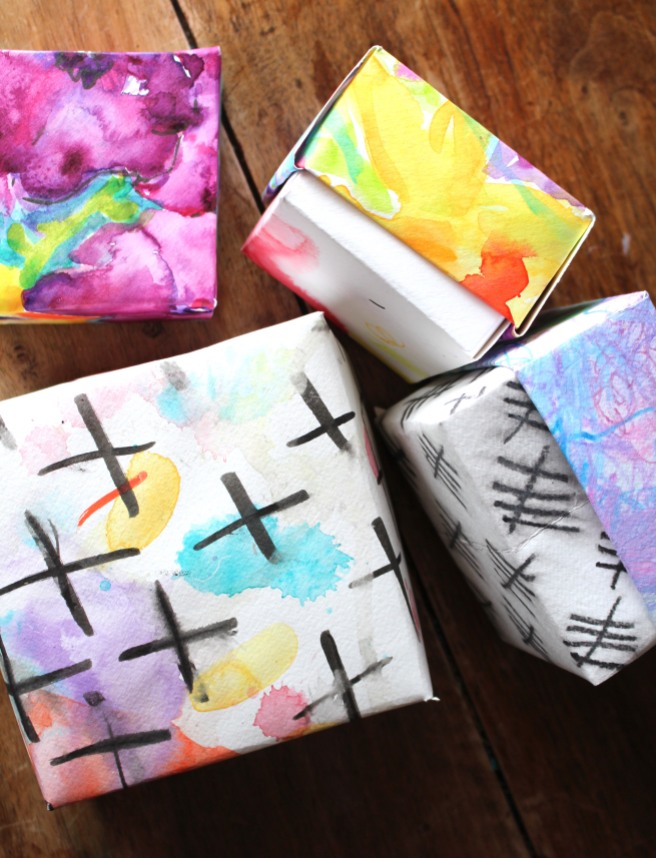
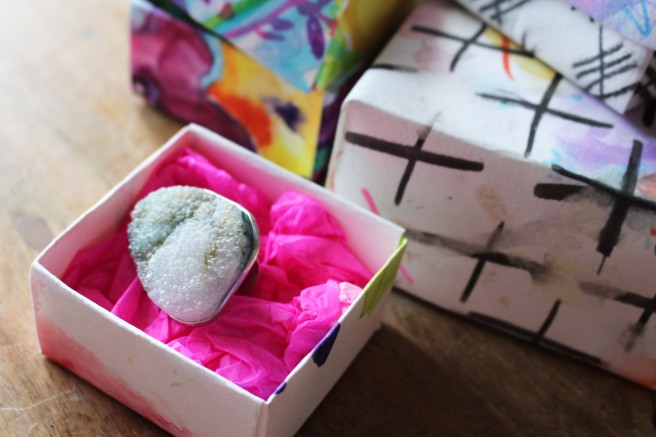
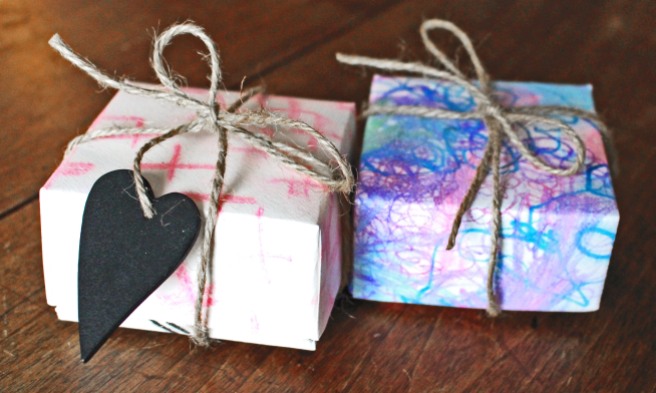
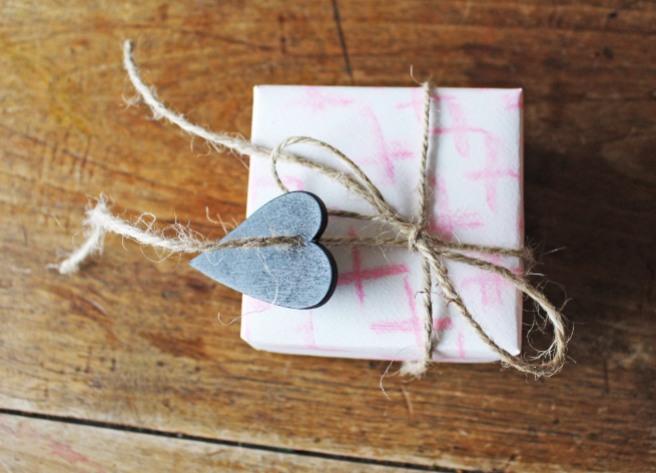
Hi Everyone! Here is something fun I did with my left over paper. If you are going to a party an like to bring something unique, be creative and give a little box and put in some lovely chocolates. These boxes are much easier to make than they look. Once you get the hang of it, a box will take less then 5 minutes to make.
To make a box, I use two pieces of left-over paper. I cut them into two perfect squares. The paper for the box bottom needs to be little bit smaller. Usually there is only a half centimeter difference. To create a custom box experiment with the paper sizes. I recommend you practicing one time on printer paper before using your old (and nice) left over paper.
.
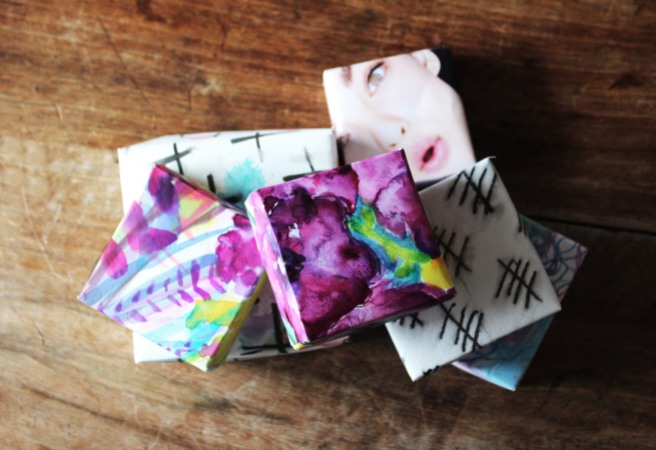
A mid-weight paper works best but my watercolours are often on a quite thick paper (200g). The lighter-weight papers like paper from advertising brochure or orgami paper can work well too. The heavier the paper is, the smaller the little box has to be. (so therefor experiment to get the perfect fit)
When you are cutting out the paper, it’s worth taking the time to perfectly square up your right angles but don’t worry, I didn’t do this when I made this boxes. And they turned out just fine.
How to make the origami box:
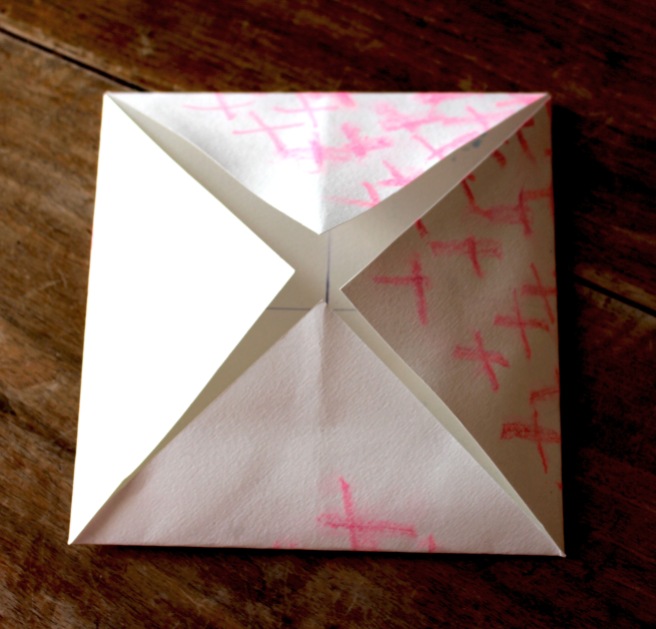
Fold all the 4 corners of the paper into the center. There is a video down below.
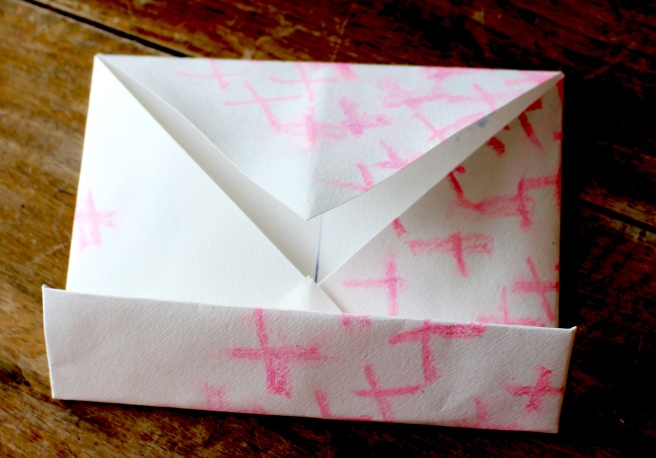
The fold one side of the square into the center and do the same to the other side.
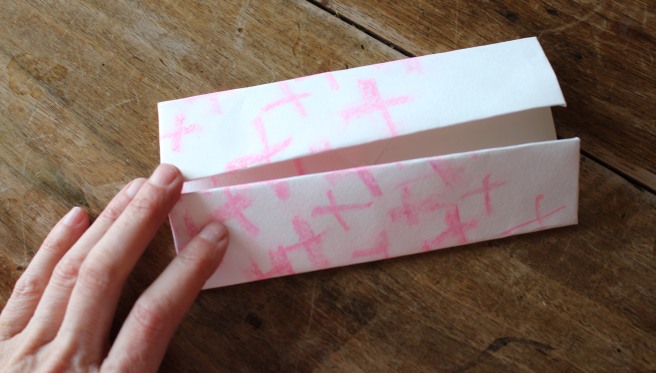

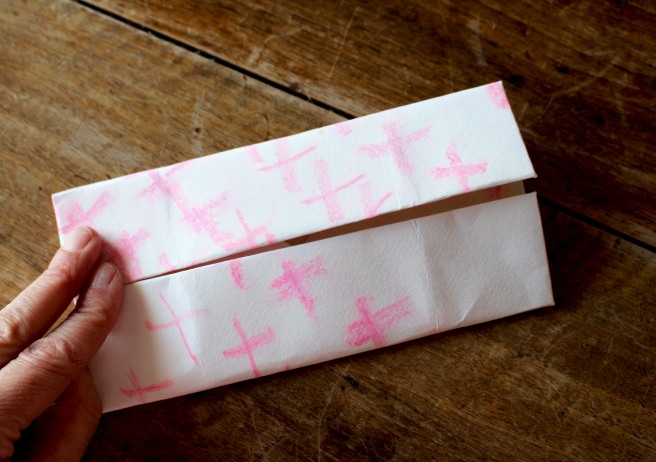
Open up the paper and turn 90 degrees. Repeat to fold the opposite long edges to the center point.
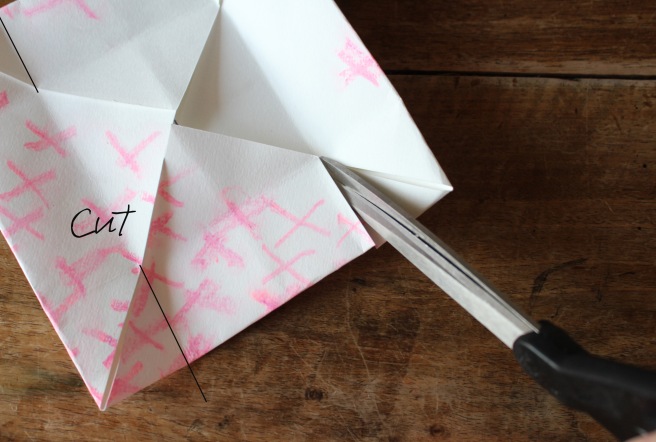
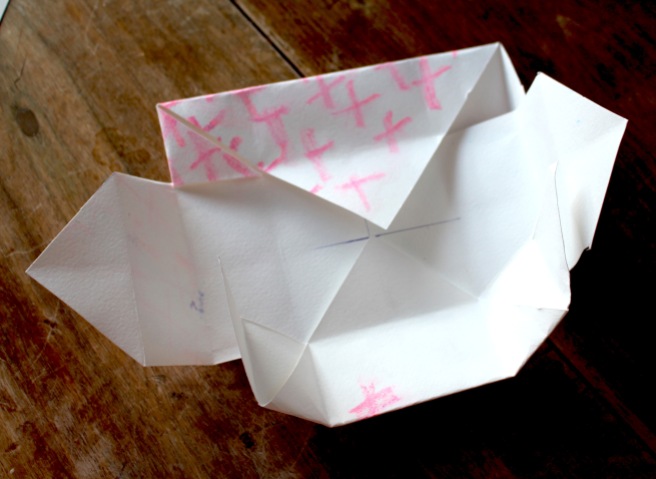
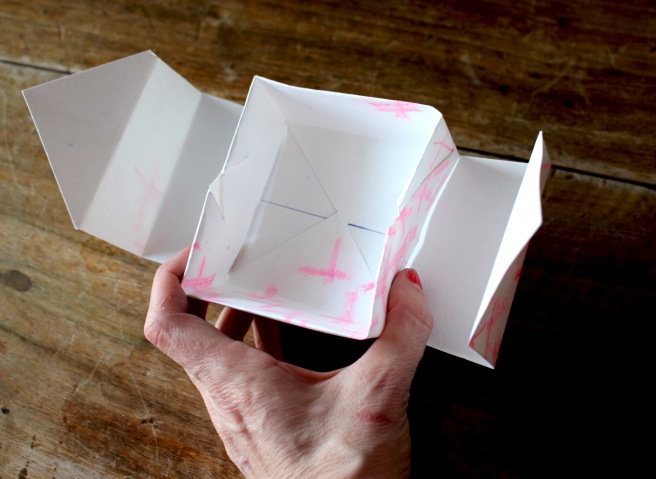
Your folded paper should look like this. The folding is now done! Now it’s time to cut, you need 4 cuts into the squares that you now see in the center of the paper. Careful not to cut too long or too short. The important thing is that you now have two flips. Open up two of the corner that been cut that, i.e the edges that are opposite each other.
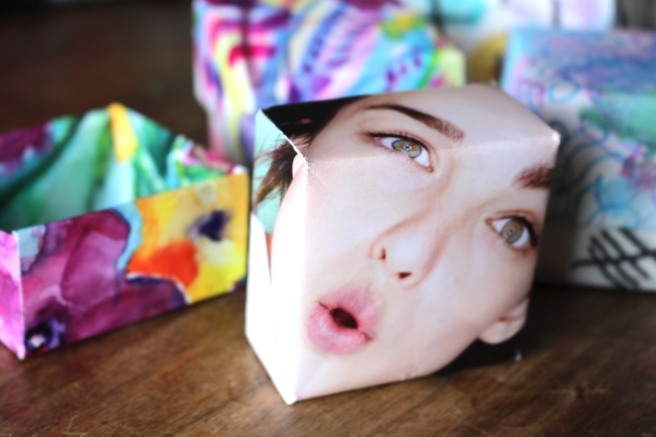
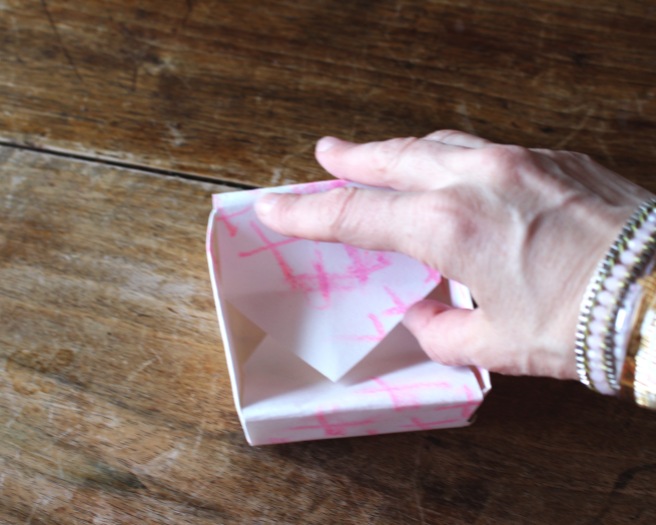
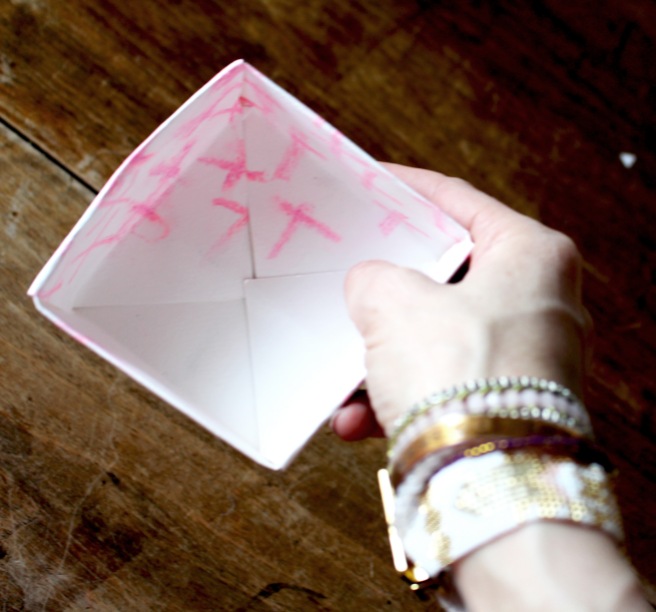
Press the paper down and over the edge of the wall. The corner point should sit right in the middle of the box.
Now give it a nice, crisp shape.


What a cool idea! Love it! Thanks for sharing it!
Thank you !!! 🙂
These look lovely! What a great idea. May try to make one, when I get time to!Thank you so much for sharing the process. 🙂
I hope you try it out for it is so much fun
LOVE these! I used to make these a lot – you’ve RE-INSPIRED me! Thanks!!! 🙂
Thank your kind words! it means a lot that you enjoyed it!
Such a creative idea. Will have to keep that in mind for my next party!!!!
Thank you so much!!! Have a creative day!
So so lovely! Inspirational☺️?
I like this a lot. I think I’ll try making one of these(if I’m not to lazy T-T). It looks fun.
LOL I’m not to lazy It is a lot of fun to turn old work in to beautiful boxes.
Very nice idea Magny! I love to make unique and custom packaging for my Jewelry maybe sometimes I can try this too <3
Oh yes! That is a perfect idea!
Thank you when I make one for my jewelry I will show you 🙂
Oh yes! It is perfect for your beautiful Jewellery
Thank you Magny! If I make one I take a photo and post where I can link to you because you gave me the beautiful Idea! You know more I see your Art and I looove it! I am so happy that we connected! <3
Thank you !!! Happy you have found your inspiration ♡ and I Looking forward to seeing more of your work.
Thanks Magny and yes you will 🙂
Fantastisk flott !!
Takk takk
This is brilliant. Thank you for the detailed instructions!
Thank you I appreciate it!
Very cool! Thanks for showing the steps to make the boxes.
I hope you try it out.
cute little things! I love it and will probably try to attempt making these. Thanks for sharing 🙂
wishing you an awesome day, xx
Dana | http://booquepress.com
Thank you Dana!! Have a nice day!!
This is exactly what i needed..! thanks for the help 🙂
have great day ahead 😀
Wowwwiee I love it.. its so cute ❤
Thank you!!!
Thank you for following Storyteller. — Ray